
What to expect from an air conditioning installation, step by step
By Clara Abbott · Updated 2026-07-14
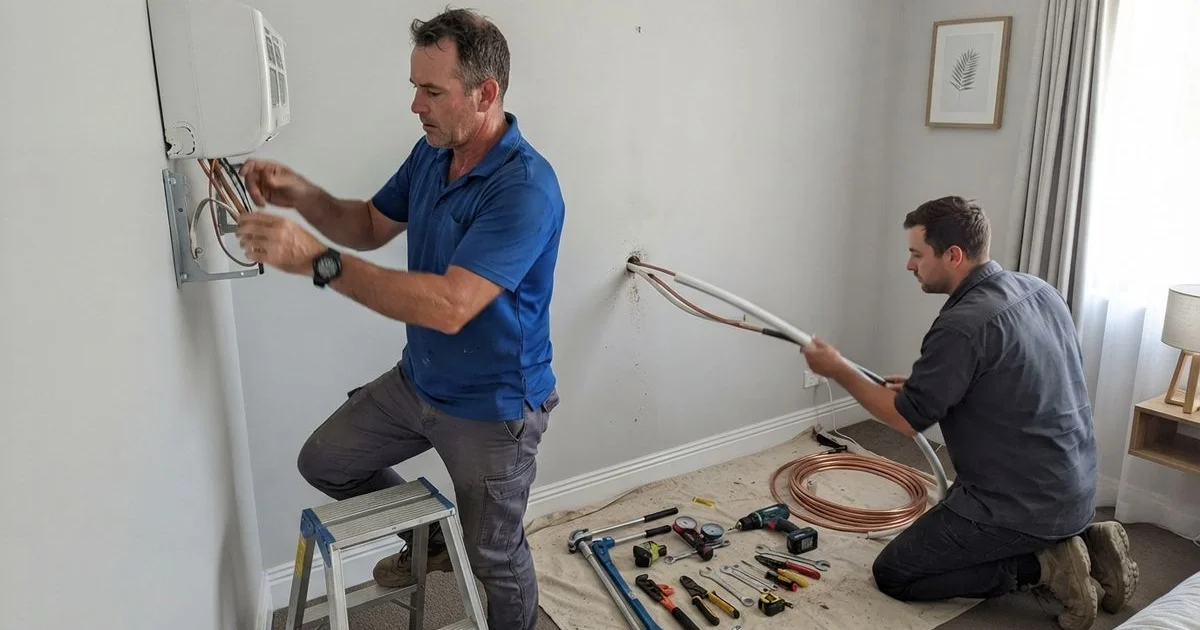
Knowing what a proper installation looks like makes it much easier to tell a good job from a rushed one, and it means you can ask the right questions along the way instead of just waiting for the unit to switch on at the end.
Our air conditioning installation hub lists contractors across Perth metro who handle this work, so you can line up quotes before booking.
Before the installer arrives
A proper installation starts before anyone touches a wall. A good contractor will have already assessed your room size, ceiling height, insulation and sun exposure, either during an on-site visit or through detailed questions, to size the system correctly. If a quote was given without any of that, it’s worth asking how the capacity was decided, since a unit that’s the wrong size for the space either struggles on hot days or short-cycles and wears out faster.
The installation, step by step
- Site confirmation. The installer confirms exactly where the indoor head and outdoor unit will sit, checking wall type, access, and the shortest sensible pipe run between the two.
- Mounting brackets. Brackets go up for both the indoor and outdoor units, level and secured to structural points, not just plasterboard.
- Core drilling. A hole is drilled through the wall to run refrigerant lines, drainage and cabling between the indoor and outdoor units.
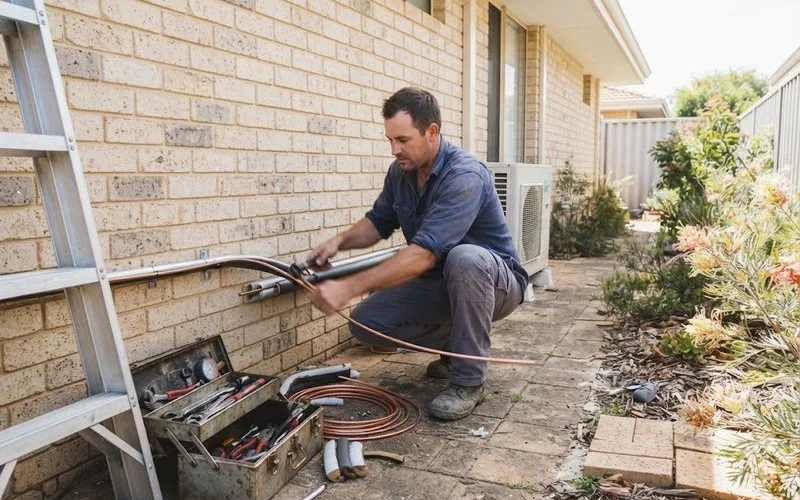
- Running the lines. Refrigerant piping, insulation, a condensate drain and electrical cable are run through the wall and routed neatly, usually inside a covered duct on the outside wall.
- Electrical connection. The unit is wired to a dedicated circuit, sized correctly for the system, with an isolator switch fitted near the outdoor unit for safety.
- Vacuum and pressure test. Before refrigerant is released into the lines, the installer pulls a vacuum to remove air and moisture, then checks for leaks under pressure.
- Commissioning and test run. The system is switched on, refrigerant pressures and airflow are checked against the manufacturer’s specification, and both heating and cooling modes are tested if the unit is reverse cycle.
- Handover. The installer walks you through the remote, basic filter cleaning, and where the isolator switch is, and should leave you with a compliance certificate for the electrical work.
Before committing to a spot for the outdoor unit, it’s worth checking noise rules, council approval and body corporate consent if you’re not doing a simple like-for-like replacement.
What separates a good job from a rushed one
A few details tell you a lot about installation quality even if you’re not familiar with the technical side. The outdoor unit should sit level on proper brackets or a pad, not propped or leaning. Refrigerant lines should be insulated and clipped neatly rather than loose or exposed to sun. The condensate drain needs a slope away from the wall so water doesn’t pool. And you should get a compliance certificate for the electrical work, since that’s a legal requirement, not an optional extra.
| Job stage | What a good installer does |
|---|---|
| Site check | Assesses room size, sun exposure and wall type before quoting a fixed price |
| Mounting | Secures brackets to structural points, level and properly supported |
| Pipe and drain work | Insulates lines, clips them tidily, slopes the drain away from the wall |
| Electrical | Wires to a dedicated circuit, fits an isolator switch, issues a compliance certificate |
| Handover | Shows commissioning readings, explains the remote and basic upkeep |
After the installer leaves
The first few days of running the new system are worth paying attention to. Listen for anything unusual, a rattle, a hum that wasn’t there before, or airflow that feels weaker than expected, and raise it with the installer promptly rather than waiting. Most reputable contractors have a callback process for exactly this, separate from the manufacturer’s warranty on the unit itself, and it’s worth confirming what that covers before the job starts.
Preparing your home before the crew arrives
A little preparation on your end makes the day go faster. Clear the area around where the indoor and outdoor units will be mounted, move furniture away from the relevant wall, and if the outdoor unit is going somewhere with garden beds or paving nearby, let the installer know in advance so they can plan access properly. If you have pets, it’s worth keeping them in a separate part of the house during drilling and installation, both for their comfort and to keep the work area clear.
What a compliance certificate actually confirms
The electrical compliance certificate you should receive at the end of the job isn’t just paperwork, it’s the licensed electrician’s formal confirmation that the wiring meets the required safety standard. Keep this with your other home documents, since it can matter for insurance purposes and is worth having on hand if you ever sell the property and a buyer’s building inspection asks about recent electrical work.
For more on how we assess and rank contractors, read our methodology page, and visit the home page for other guides covering the buying and running side of air conditioning in Perth.
FAQ
- Do I need to be home for the whole installation?
- Most contractors want you present at the start to confirm placement of the indoor and outdoor units, and again at the end for the test run and handover. Some installers are comfortable working while you step out in between, but check this when booking.
- How long does a single split system installation take?
- A straightforward job with easy wall access usually takes half a day. Second-storey work, longer pipe runs, or brick veneer walls that need core-drilling can push it closer to a full day.
- What should the installer show me before they leave?
- Ask to see the commissioning readings, the pressures and airflow checked during the test run, rather than just having the unit switched on and handed over. A good installer will also point out the isolator switch and explain basic filter maintenance.
- What happens if something isn't right after the installer leaves?
- A reputable contractor will have a callback process for issues that show up in the first few days, like unusual noise or weak airflow. Confirm what's covered under workmanship warranty before the job starts, separate from the manufacturer's warranty on the unit itself.
Related on this site
- Browse new ac installation providers
- What air conditioning installation costs in Perth
- Noise rules, council approval and body corporate consent for outdoor units in Perth
- Split system vs ducted air conditioning: which is right for your home
- How to choose an air conditioning contractor in Perth
- All guides →